How Confirue Google WorkSpace Email in Cpanel

This setup is only for Google workspace Purchased email. if you want use webmail then leave this setting. 

Before you begin

Make sure now is a good time to make this change. It can take time for the rest of the internet to learn about your new MX records. You might keep receiving mail with your old email provider during this time.

To complete this task, open two separate tabs in your web browser, like this:

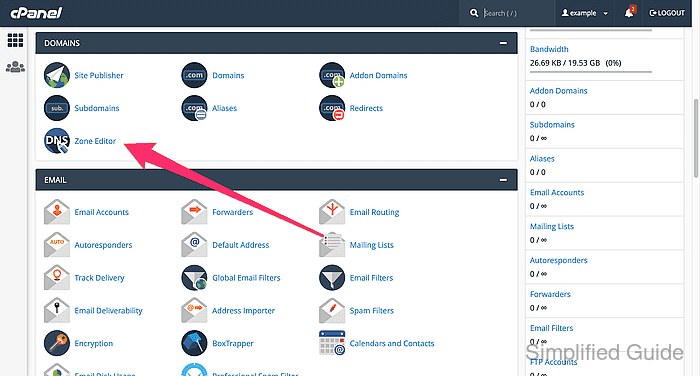
Tab 1: Sign in to your Cpanel

You update your domain settings at your Cpanel website, not at Google. To get started, make sure you have the account ID and password needed to sign in to your

Tab 2: Open the Google Workspace setup tool 

You get instructions and complete this task using the setup tool. You also use the tool to add any remaining email accounts—every existing address in your company must be associated with a Google Workspace account.

Follow these instructions to activate Gmail

Work across the two tabs you opened earlier, as follows:


1

Find your DNS records


(a)

Open cPanel at your registrar, and then scroll to Domains. Click Zone editor. 

(b)

Click the down arrow next to Add record, and then select Add MX record.

(c)

Fill in the fields as follows.

Add a DNS zone record
To add a DNS zone record, perform the following steps:

Click Manage next to the domain you want to modify.

Click Add Record. You can also click the arrow icon (Arrow Icon) and select the desired record type (MX) from the list.

Enter the record information.

Click Add Record.

The MX records you’ll add are the following:

MX server address Priority
ASPMX.L.GOOGLE.COM 1
ALT1.ASPMX.L.GOOGLE.COM 5
ALT2.ASPMX.L.GOOGLE.COM 5
ALT3.ASPMX.L.GOOGLE.COM 10
ALT4.ASPMX.L.GOOGLE.COM 10